Romantic Poster Tutorial
| Uzaporium | Poster Tutorials and Resources |
Below are the pictures, stocks, and textures used in this tutorial. You may use your own pictures, or simply use the ones provided below.
This tutorial will be explained using the pictures provided.


1) Open a new canvas(Ctrl+N or 'File >> New') and put the size as 700x550.
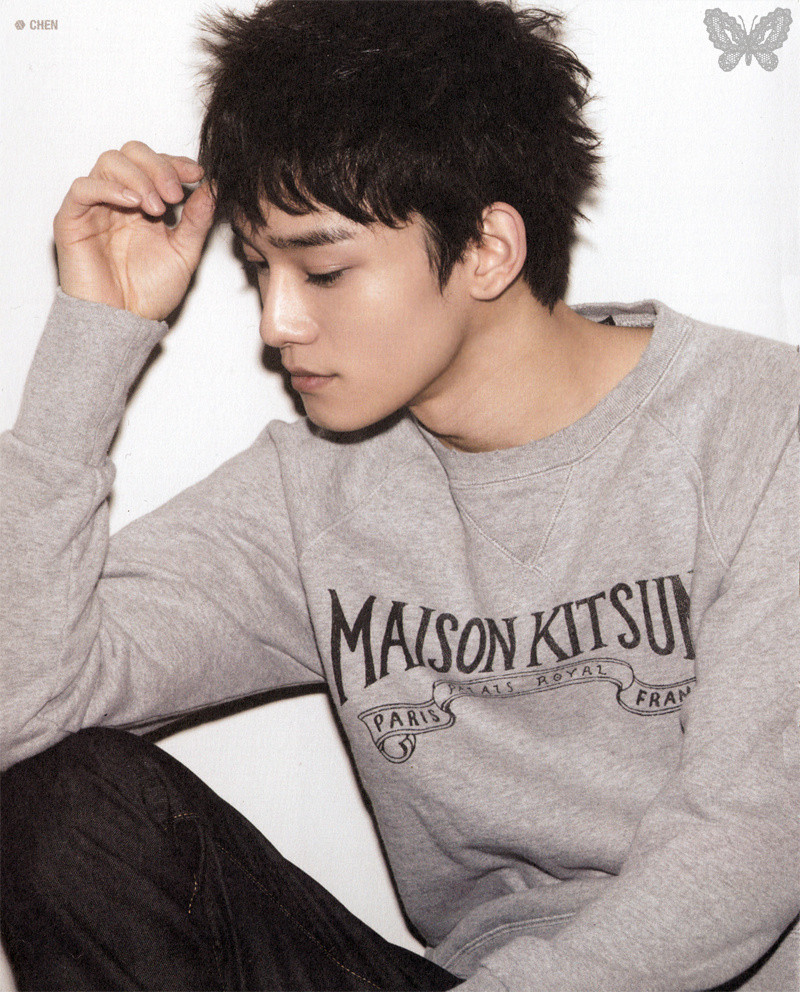
2) Now open the pictures of Xiumin and the Chen onto your canvas and click on the scale tool to resize both of their pictures. Xiumin's picture should be slightly smaller than Chen's.
3) After resizing, simply click on the move tool and reposition their pictures. Xiumin's picture goes to the bottom-right of Chen's. Feel free to lower the opacity if you want, I did to both of their pictures and brought it down to around 70%-80% or so. (the screenshot below has lower opacity than just mentioned, this is so you can see more clearly their position)

4) Open up the flower stock onto your canvas (the full-size of the flower stock is extremely large), resize it if you want, but only a little! The blurs of the pedals from the size is what we need to make the background of the poster, resizing it too much will ruin that. Make sure the flower stock's layer is below Xiumin and Chen's layers, but still above the default layer. Lower the opacity of it only slightly, so it's not too dark. Also, move it around to your desired position if you want to.
5) Afterwards, blend Xiumin and Chen's pictures into the background using any prefered blending menthod.

6) Open the bokeh texture onto your canvas as the top layer. Set it to 'Screen', and move it around a little, lower the opacity a little as well, and erase any part of it that overlaps the their faces.

7) Open the next texture on the list, the red one. Flip it horizontally and reposition it a little. Set it to 'Overlay' and lower the opacity to around 70%.

7) Open the third texture provided above. Flip it vertically and set the mode to 'Overlay'

8) Next, open the clock stock provided above. Move the layer in between the first and second textures. Set the mode of the stock to 'Overlay' and erase any parts of it that overlap the characters' faces or necks.
9) Now, open the final texture onto the canvas; the bright texture. Set it to 'Overlay' and lower the opacity if needed.

10) Adjust the brightness and contrast of Xiumin's and Chen's pictures, I used 'Curves' to edit them slightly, making them match each other and fit better with the rest of the poster.
11) Now, go under Layer >> New from Visible. Make sure this layer is the top layer. Set it to 'Screen' and lower the opacity to around 50%. Next, take the 'Rectangle Select' tool and make a selection of the entire layer, except somewhat of the top and bottom of it. press delete on your keyboard afterwards and now you should have two brighter stripes going across the top and bottom of your poster.

12) Now, just simply add a title, some credit, and even a quote if you wish!
Comments