BOOKMARK TUTORIAL :D
Hoooo!!! So... yeah ^^
Here it is:
NOTE: this is for the bookmark the flips open and closes, if you want more basic designs check out my other bookmark blogs and tell me which one you want to learn to make ^^
1. Ok, first of all. At Kmart for e.g. in the stationary section you can find like little packs of card paper and etc and this is what I got. You get like... 20 cards, two of each colour, so it's pretty worth it. If you don't have that, you can just used coloured of white paper for your practice go ^^ I started off using white paper too!!
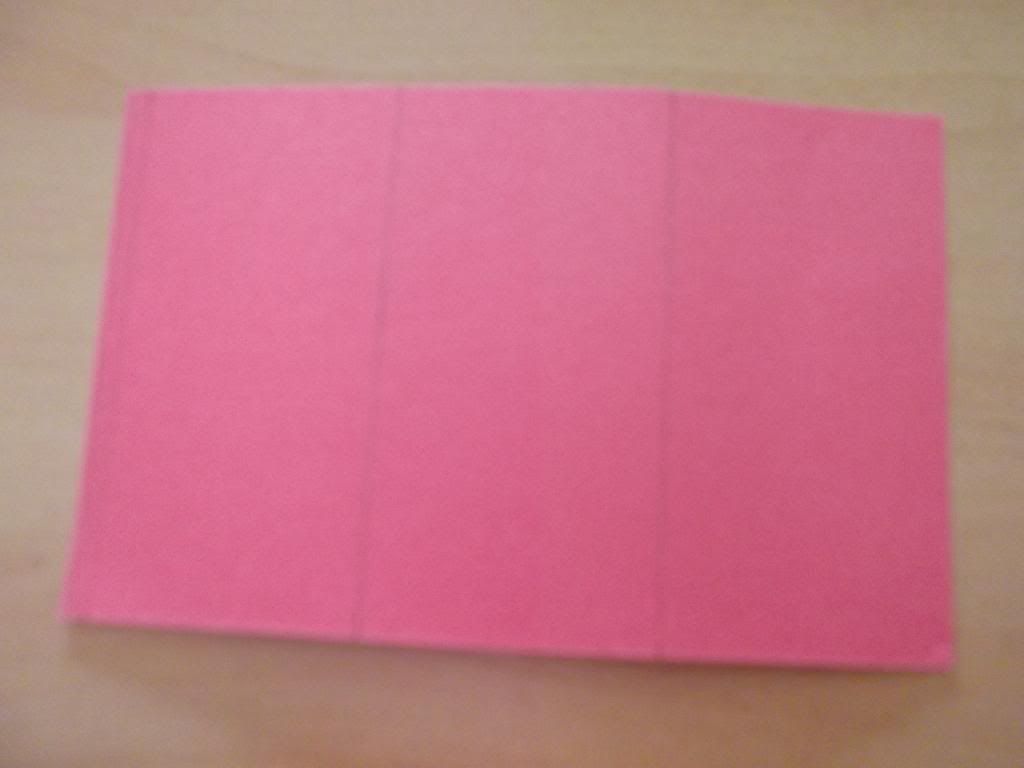
So I measured the card paper and ruled it into three (if you can see in the pic above), there's some space left over at the end, but its ok.
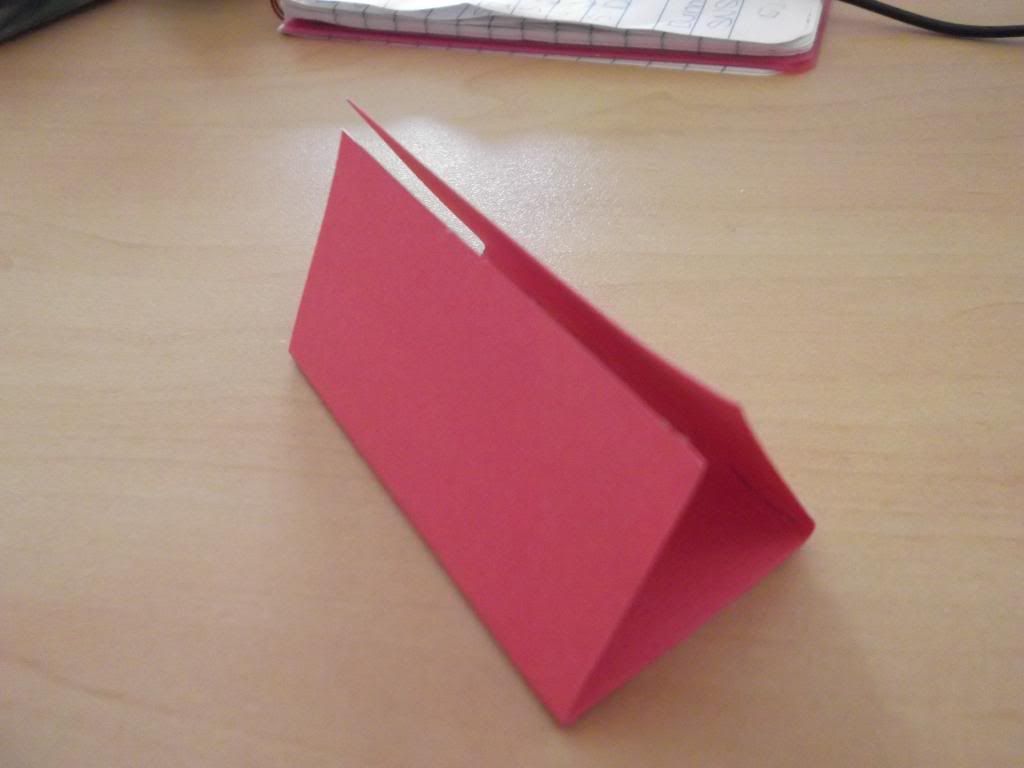
2. So cut out the extra part (but keep it) and fold on the lines so that the the flaps can meet eachother. Also, try to make one of the thirds (on either end) a bit bigger, about 2mm so it can be a cover for the bookmark. It should look like above. ^^
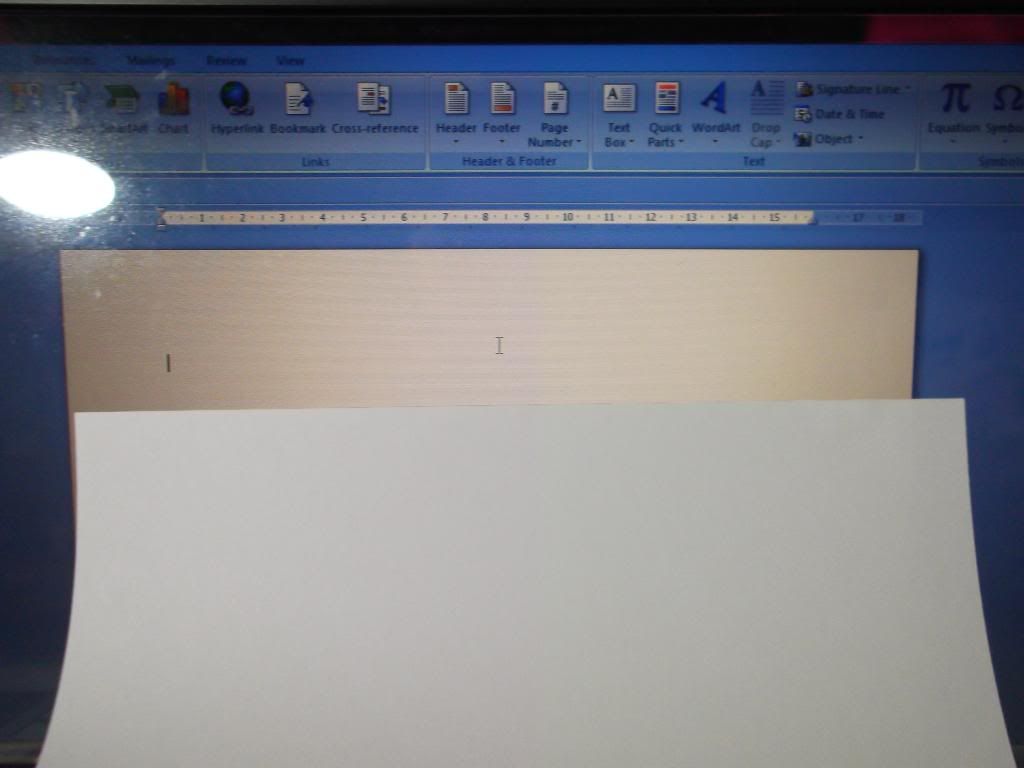
3. This is a fun part that takes some time. So on word (if you prefer word) just copy and paste pictures or words you want to use on your bookmark, because you will print them out. In the pic above you can see that the A4 paper is slightly bigger than what it looks like on the comp screen, which means the pictures will be a tinnnneee bit bigger, but it's not a lot.
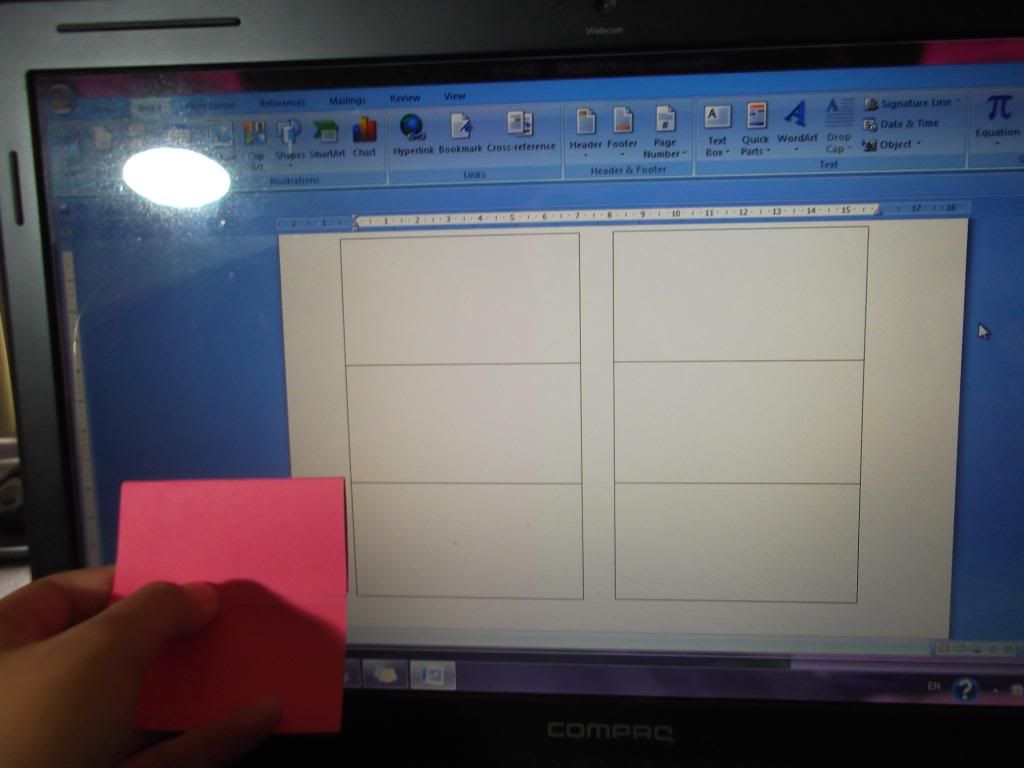
Now on word to make it easier to resize your pics you can make shapes (rectangles) and group three together X 2 (for back and front of bookmark), like I said before even though the paper size on the screen and the actual size is different, it doesn't make lots of difference. So just resize the shape to make it like the same as your bookmark thirds, remembering to make one of the thirds on either end longer by a tinneee bit ^^
4. Now, this is the confusing part. Because you bookmark folds in and out, the pics/words you put on have to be in differnet directions on the page. Refer to below.
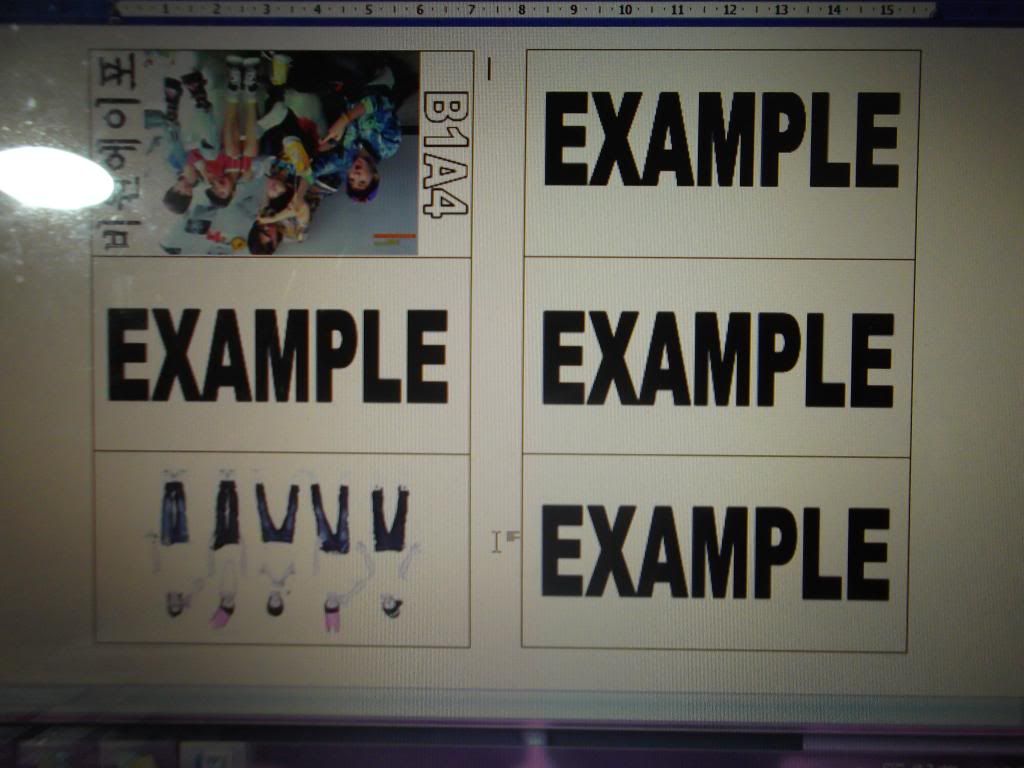
The left thirds are the outside of the bookmark and the right is the inside. The two thirds with the pics are upside down and the rest with 'example' are the right way up. Use this pic to help you if you forget ^^
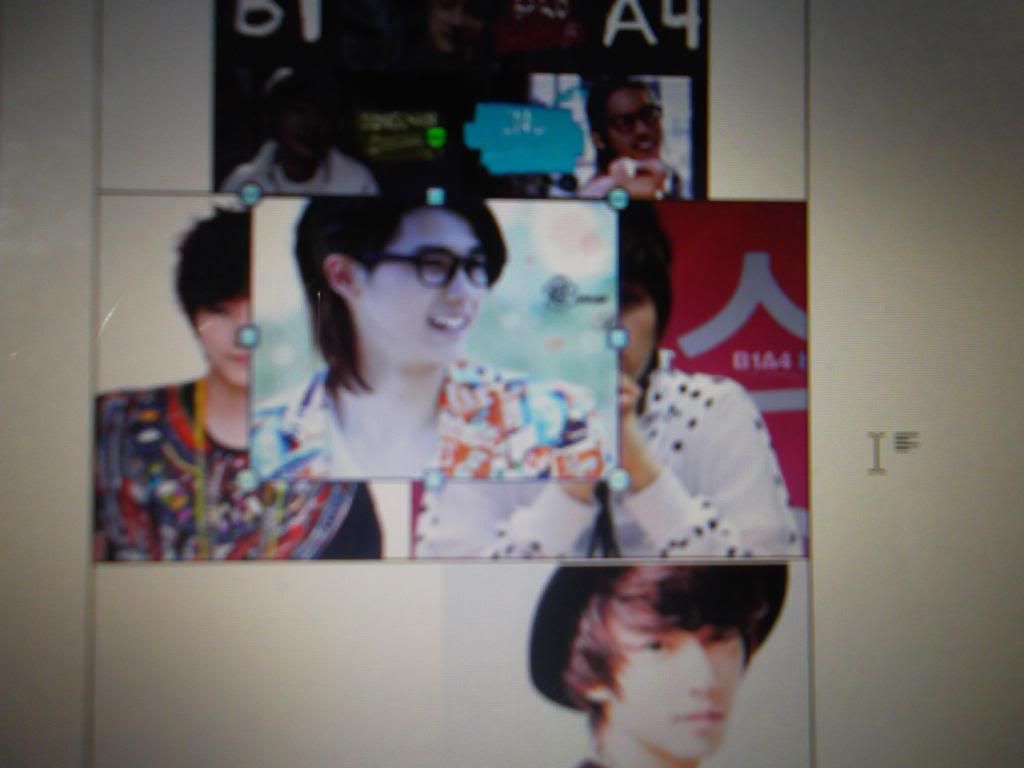
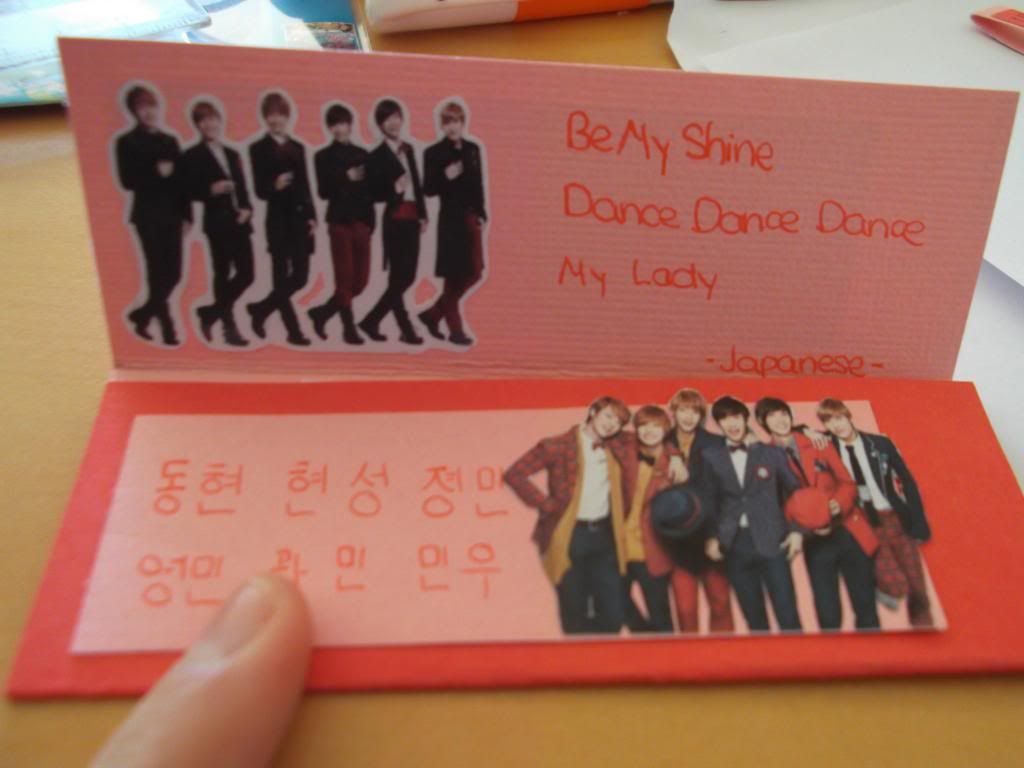
So now you just insert the pics you want to use (you may have to spend some time finding pics from the internet if you don't have any/enough/ones you want to use <-- takes the most time :P). If you see above since there will be a gap betwen Jinyoung and Sandeullie's head, you can put other pics inbetween. So for the moment just organise the pics on the word doc as to how and where you want them on the bookmark.
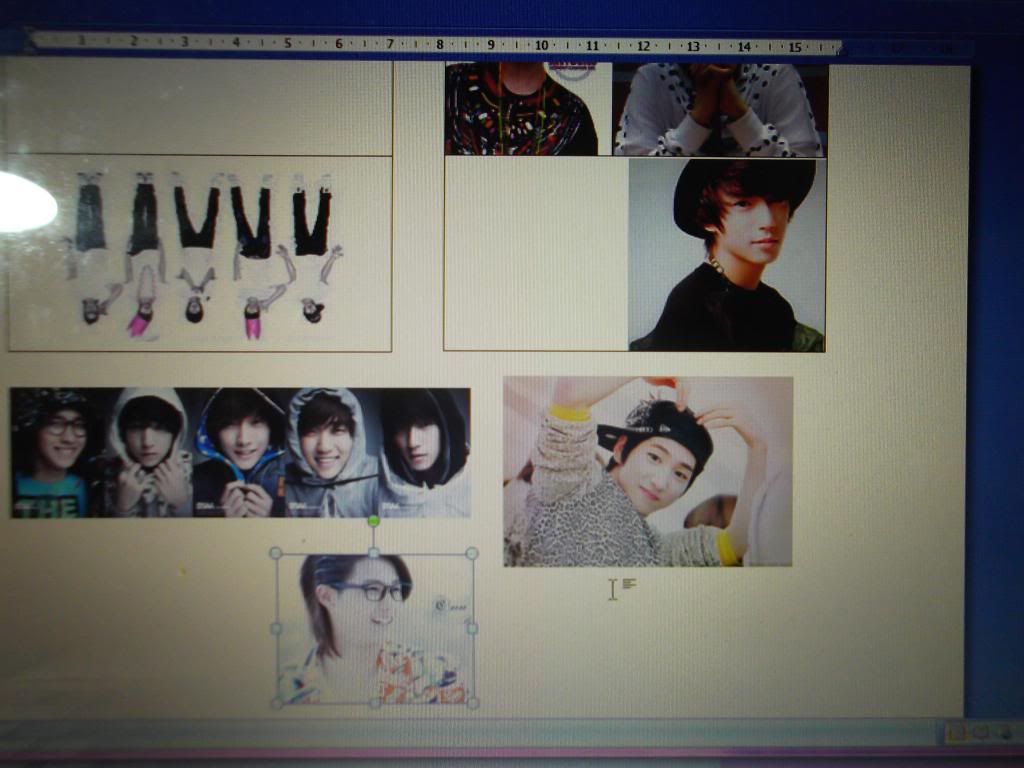
Then when you've put all the pics you want in the right spots, just grab the pics that overlap others and put them under/away from the outlines of the bookmark (otherwise people's heads/bodies will be cut off) and leave them there. You don't have to take all the pics out, just the ones that overlap others or overlap parts you want. When done, print the page. Now, the great thing about word is the 'undo' button ^^ so press it until all the pics you moved are back to the original place, this is your guide to where your pics go remember? ^^
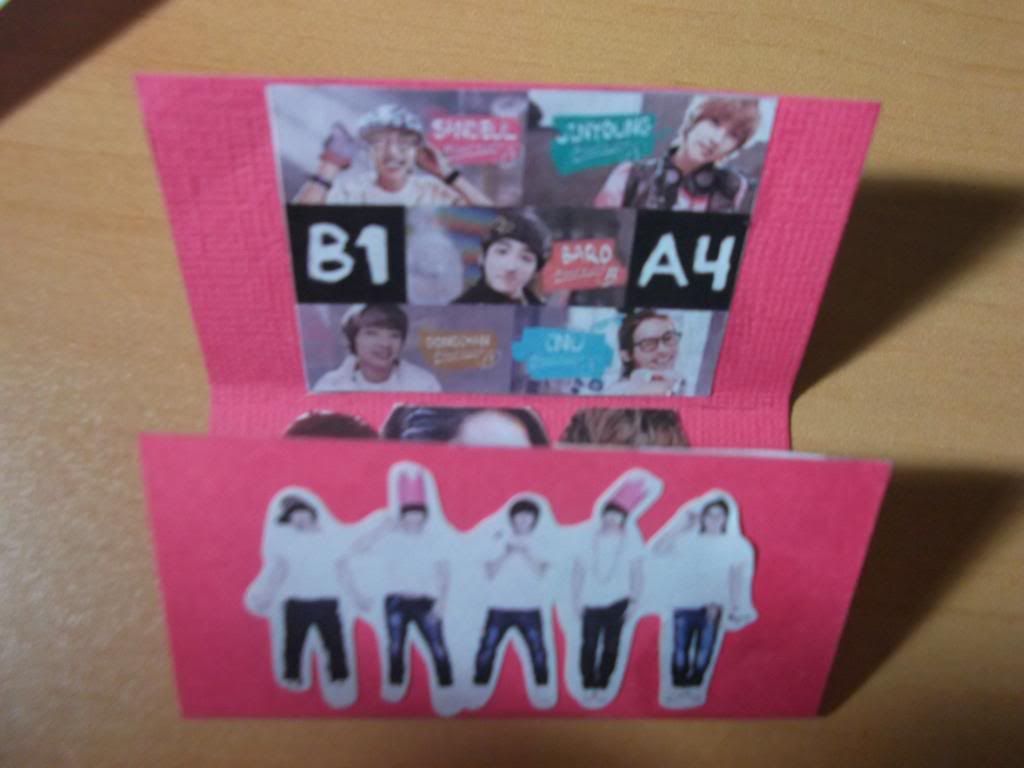
5. Cut out all the individual pics and stick them on your card paper/white paper/coloured paper with glue. It will be a bit tricky to overlap, just stick one pic down that you are find with a part of the picture being left out, and stick another over that part.
6. Mark your work!! Make up a name for your 'bookmark brand' or just sign it if you want ^^ I like to write the date and time I finish them :)
NOTES: when you cut out the pics, I usually cut out the background of the pictures too, otherwise you can barely see any of the pretty card paper and you can't exactly overlap pictures that way.
And you can use the extra part of card paper you cut out at the start (if you have any) to make a similar strap to the one I did. :)
Lastly, if you need any clear ups, or help, feel free to comment ^^
GOOD LUCK :) and sorry this is posted so late. :)
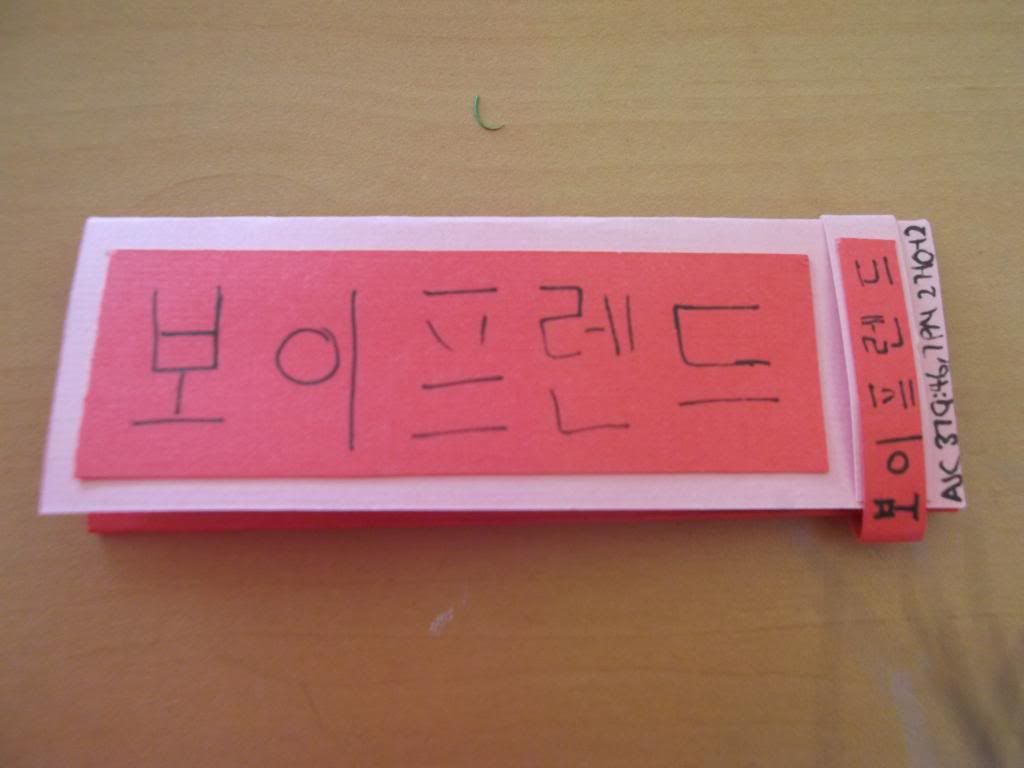
This is a new design I came up with recently ^^ its folded the same as the one above, but I made a little strap for it to keep it closed and yeah... the design ^^ haha
Here's another pic ^^
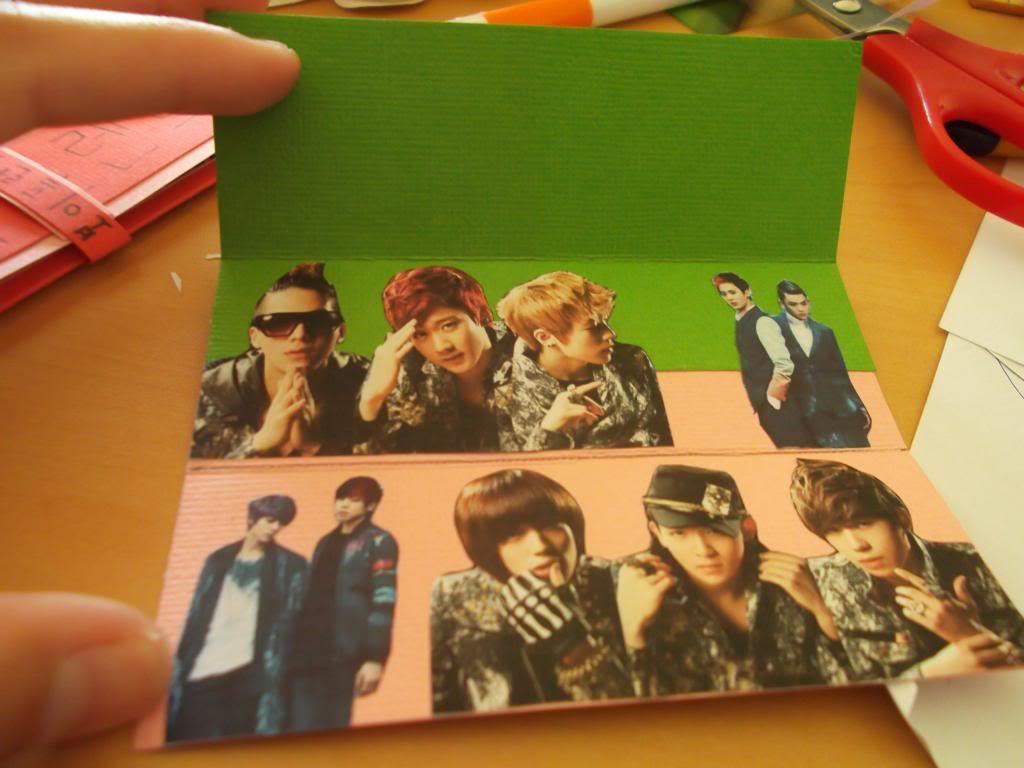
And I did a Teen Top one with the same design, layout just different colours. You can see what I mean by 'cutting out the background' from this ^^
Thanks for reading again ^^ SMILE EVERYONE ^^ It's a happy day together ;)
Comments